Saturday, December 1, 2018

Welding Torch Holder

Decided to make a torch holder for the welding table.  Design requirement was for it to accommodate both the stick holder and the flux core wire holder.

 Cut some lengths of 1/8" x 1" bar stock.  Purchased the 95 lb. magnet from Harbor Freight. Pre-weld setup using vise-grip and magnets.  You can see my torch holder draped over the vise-grip... which illustrates problem.

Cut a 3" length of PVC conduit and cut out a section that fits the stick holder.  The width of the cut fits on either side of the boss on the stick holder.  This will prevent the stick holder from rotating and coming into contact with the metal table.

Mounted the bracket to the magnet using a jam nut so that it will pivot on the base.  Drilled and tapped the bracket to receive the PVC piece.

Flux core torch.

Electrode holder.

Hope this helps,
Mike

Friday, September 28, 2018

CJ7 Storage Box II

Decided to add a second storage box to the Jeep for camping gear.


The box will be a UWS 32"w x 12"d x 12h ATV Toolbox in aluminum diamond plate.  I want there to be storage under the box for sleeping pads (not subject to getting wet) which necessitates some steel brackets to raise the box.


Bought a new Century flux core DC wire welder that I've been itching to try out.


After several redesigns, this is the final drawing.  It will be secured to the bed of the Jeep by the two welded seatbelt nuts for the rear seat (which is not in use) at the front of the bracket and drilling two holes in the bed near the tailgate at the rear of the bracket.

Salvage yard steel before and after wire brushing.  That was a new wire wheel...

All the pieces were cut and notched by hand using an angle grinder.  The ends were squared up using a stationary sanding disc.

Used the existing welded-in seatbelt nut (bolt on right) and drilled hole for new bolt (on the left).

Notched the 1x1 tube to lap over flush with the face of the "c" channel.  Beveled all edges that will be flush so that they can be ground smooth.


Edge beveling. 

Tacking the "L" channel.

Welding table from Harbor Freight (very sturdy).

 Tacking the "L" angle to the bracket assembly.

 In order to grind flat, the edges must be beveled to provide a place for the weld material.

 Welded bracket.

 Flush end welds.

 Transferring the holes in the storage box to the brackets.  Cut and drilled a cross piece to provide security for the items under the box.

 Welded nuts onto the bracket and the cross piece.  This is the assembly bolted to the floor of the Jeep to confirm fit prior to paint.

 The storage box bolted on.  Everything fits as it should and is square to the Jeep.

This bar adds a little security for items stowed under the box.

 Success...!!!  Now to disassemble and paint the brackets.

 Shot from rear with the spare tire carrier in place.

Shot from side.

Hope this helps,
Mike

Saturday, May 12, 2018

CJ7 Drink Holder


I've been thinking about drink holders for over a year.  Nothing on the market fits a 32 oz. stainless cup and when the dog is in the jeep, there is no place inside.

This is what I came up with:

Materials:
2 each - Rubber Drain Collar - Femco P1056-33 - 3" x 3" - Lowe's Hardware
4 each - Stainless Flat Socket Head Bolts - 5/16-18 x 3/4" - Ace Hardware
Thread Locker
Paracord - For Handles

32 oz Bubba Envy stainless insulated cup

Procedure:
Remove bands from collar.

Use a tri-square,to mark a perpendicular line down the side of the collar.

Find the vertical center of the collar and mark.  Then mark 7/8" above and 7/8" below the center mark.  You should now have two points 1 3/4" apart.

Added some wood blocking inside the collar and then used a 5/16" leather punch.  This left perfectly round 5/16" holes.

Remove the existing bolts from the lower door hinge pin mount.  Add some thread locker to the threads of the new flat head bolts and run them into the existing lower door pin hardware.  The flat heads flush up pretty well due to the countersinking in the door mounting plate.

The collar distorts slightly against the door pin receiver, but not enough to make a difference and the cup looks perfectly vertical and the holder perfectly round when the cup is inserted.  The cup slides easily in and out of the collar and does not rub against the flat heads.


The cup clears the body by a good 1/4", but a hard bump could cause them to come in contact with each other.

 I added an extra thick square black stick-on bumper on the cowl to keep the cup from touching the body.  Works perfectly.

Made a 32" four-strand round braid and heat welded it into a loop.  Used two 96" lengths of paracord.

I wrapped the loop around the cup and collected the center section into a loop locating the splice in the handle area.

Using a single 108" length of paracord, I collected the two parts of the handle in a king cobra weave.

Using another 108" length of contrasting color, I overlaid the first king cobra weave with another king cobra weave.

Here is the finished product.  I placed a self-stick square black bumper on the body to prevent any chafing.

Hope this helps,
Mike

Monday, April 23, 2018

CJ7 Cab Cover

Needed a cover to keep the rain and dew out of the interior while camping in the North Carolina woods.  Having a bolt of Sunbrella that I bartered some antique "church keys" for, I decided to try to make one...


Materials:
Sailrite.com
Sunbrella - 60" x 25'
Thread - Tex 138 Bonded Nylon
Double Sided Tape #129

Needle - #20
Painter's Tape

Procedure:
Lay out two 60" x 152" panels of fabric.

Line up long edges.  Using double sided tape, baste good sides facing each other.  One long edge only.

Had to open up the machine to drop the presser foot bar for the fabric feed group.  Installed the presser foot, needle feed dog and lower feed dog.  Here I'm setting the stitch length, stitch tension, and presser foot pressure.

Flat felled the seam between the two 60" panels.  Centered the seam on the roll bar.  Next is to mark the pleats at the windshield.

Here I rolled the fabric at the edges of the windshield and held it there with some spring clamps.  I then used a wax seam marker to mark the edge of the windshield frame on either side of the dart.

Note that after centering the main seam on the roll bar, I taped the fabric at the bottom of the windshield frame before gathering the material for the darts.  This kept the cover square on the jeep and provided some tension to pull against when marking the darts.

Marked straight lines for the dart seam and then added 5/8" seam allowance.

Cut the fabric on the seam allowance lines and marked the apex of the dart on the back side of the fabric.

Marked the seam allowance for a double rolled seam across the bottom of the windshield frame and used two sided tape to help hold it in place for sewing.

Taped the cover back on the Jeep and clamped at the wheel wells to mark the dart running from the roll bar to the corner of the tub.  Gathered, clamped, and marked as before.

Sewed from the corner of the tub up to the apex of the dart.

Put the cover on the Jeep and marked from the corner of the tub to the corner of the taillight and continued sewing the dart.  Then put the cover back on the Jeep and marked from top corner of the taillight diagonally to the bottom corner of the taillight and sewed again.

Using painters tape to position the cover on the Jeep and to provide some tension, I proceeded to outline the tub on the fabric.

I then marked the seam locations and added for the 1" double rolled hem.

Decided to come up at an angle from below the door well to a horizontal line above the wheel well to the back corner of the tub.  To mark the rear hems, I'll need to actually tension the top in place so decided to make the 6 shock cord attach points (2 on each side under the door well and 1 at each taillight).

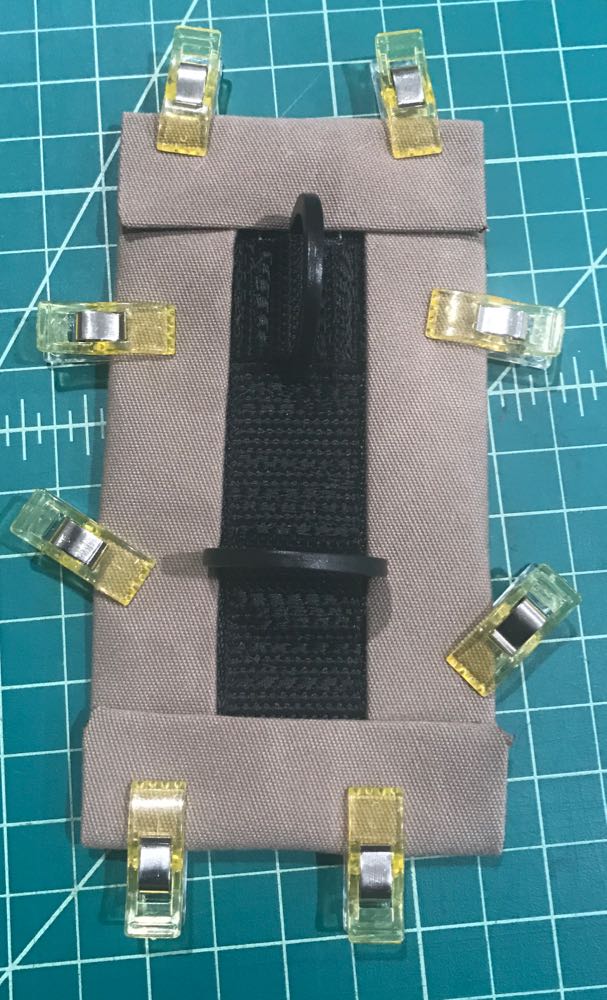
Took two strips of 2" webbing, overlapped it, to end up with a 3" wide panel as a backing to the 1" webbing strips that will anchor the D-rings.  Decided to use two D-rings, one vertical for use with a hook, and one horizontal allowing the shock cord to be tied on.

Made a wrap for the D-ring panel out of the matching Sunbrella.  Here it is cut out and marked for the folds.  The corners were clipped off to reduce bulk.

The attach panel ready to be sewn.


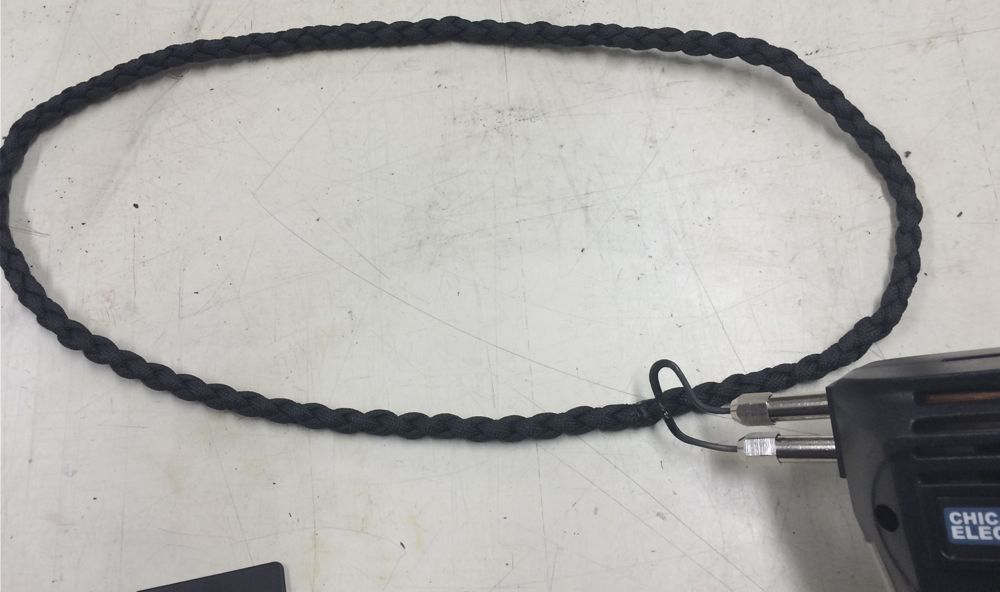
 Cut some 1/4" shock cord and used some adjustable cord hooks.  Here are a couple of shots of the cover on our recent trip.  

This took longer than I thought, but it fits pretty well, and worked like a charm.  I may add another D-ring attach point just ahead of the spare tire to prevent a heavy rain from pooling on the cover allowing water to fill the tub.  If I do, I'll add a photo later.

Hope you found this useful.
Mike